How to Build a Walk-In Catio: Materials List, Build Plan, and Free Download
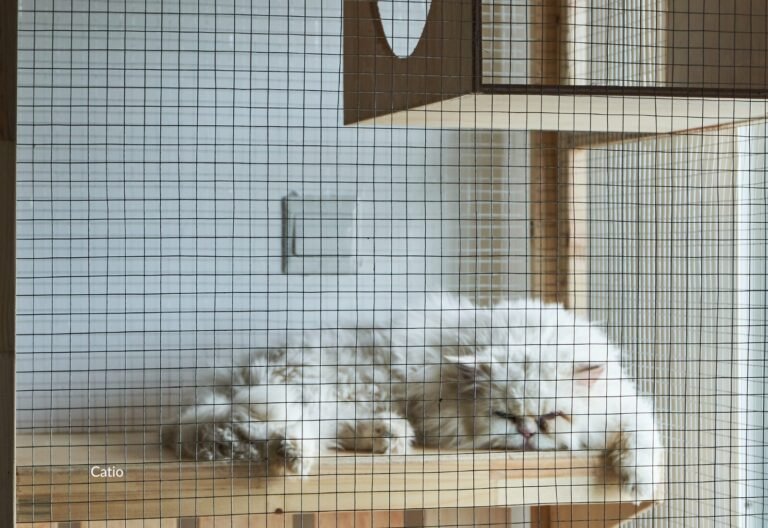
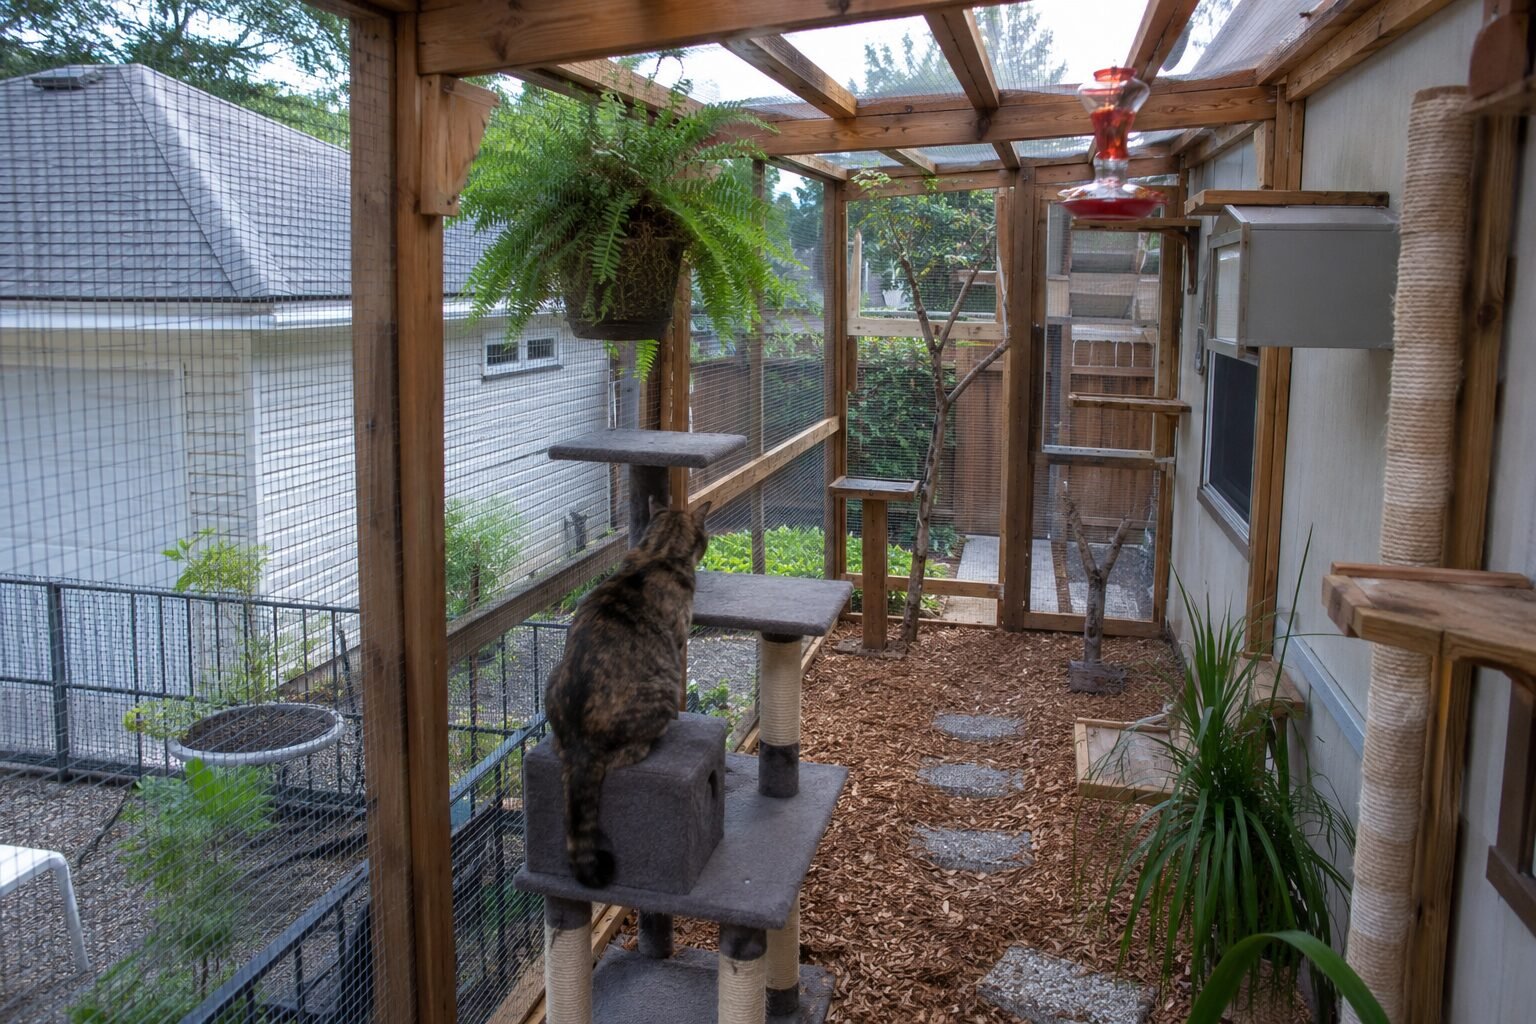
This plan covers a long, walk-in catio enclosure attached alongside the house, roughly 6 ft wide by 12 ft long by 8 ft high. Those dimensions are a starting point, not a rule: measure your own space and adjust the shopping list accordingly. The structure uses pressure-treated lumber, predator-resistant hardware cloth, a partially weatherproof roof, a human access door, climbing shelves, and a cat-safe ground surface.
Measure before you buy
Before buying lumber, measure the exact wall length, desired projection from the house, roof height, window locations, utilities, drainage, doors, HOA restrictions, and local permit requirements. Do not permanently attach anything to siding or roofing until you know the correct flashing and attachment method for your home.
Shopping List
Quantities below are sized for a 6 ft by 12 ft catio and will scale up or down with your actual footprint.
| Item | Approx. quantity | Notes |
|---|---|---|
| 4×4 pressure-treated posts | 6 | Corners plus intermediate supports |
| 2×4 pressure-treated lumber | 30-36 boards, 8 ft | Wall frames, roof framing, door, bracing |
| 2×6 pressure-treated lumber | Optional, 4-6 boards | Useful for heavier headers or base framing |
| 1/2 in hardware cloth, 19-ga or heavier | About 300 sq ft | Preferred over lightweight chicken wire |
| Exterior structural screws | 5 lb box each: 3 in and 2-1/2 in | Exterior or deck rated |
| Washers + screws or poultry staples | Enough for all mesh edges | Washers make mesh attachment stronger |
| Roof panels | About 80 sq ft | Corrugated polycarbonate or metal |
| Roofing screws with washers | 1 box | Match your roof-panel system |
| Concrete or post anchors | 6 post locations | Choice depends on soil, patio, or deck |
| Exterior door hardware | 1 set | 3 hinges, latch, handle, plus a carabiner |
| 2×2 or 2×3 lumber | 8-12 boards | Cat shelves and light framing |
| Shelf boards | 6-10 | 8-12 in deep, exterior-grade |
| Sisal rope | 100-200 ft | Wrap climbing posts and branches |
| Exterior wood sealer | 1-2 gallons | Cat-safe once fully cured |
| Pavers, gravel, or mulch | As needed | Choose a washable, well-drained surface |
| Cat-safe plants | Optional | Cat grass, catnip, wheatgrass |
| Weatherproof hide box | 1-2 | Shade, naps, a retreat spot |
Tools You’ll Need
Tape measure, framing square, level, string line, circular or miter saw, drill or impact driver, socket set, staple gun (if using heavy poultry staples), tin snips or aviation snips for the mesh, a roofing-panel cutting tool appropriate to your material, a shovel or post-hole digger if setting posts, a ladder, clamps, a utility knife, and work gloves, eye protection, and hearing protection.
Basic Frame Layout
- House side: use the house only as an attachment point if you can do so without creating water intrusion. A freestanding frame immediately beside the house is often simpler and safer for a DIY build.
- Outer wall: set 4×4 posts at the corners and roughly every 6 ft. Connect them with lower and upper horizontal 2×4 rails, adding vertical framing so no unsupported mesh panel is excessively large.
- Ends: frame both ends fully. Put the human door at the most convenient end, and consider a small two-door airlock so a cat cannot bolt outside when the main door opens.
- Roof: pitch it away from the house. Even a modest slope helps shed rain, and rafters should be sized and spaced for your roofing material and local weather load.
Build Sequence
- Measure and mark. Lay out the full footprint and confirm it doesn’t block drainage, HVAC equipment, dryer vents, hose bibs, utility meters, or emergency egress.
- Prepare the base. On soil, remove unstable organic material and establish a level, well-drained perimeter. On a patio or deck, use proper structural anchors rather than resting posts on the surface.
- Set posts. Install the 4×4 posts plumb and square. Temporary diagonal braces make the rest of the build much easier.
- Frame the walls. Install top and bottom rails, then intermediate studs and cross rails, with blocking wherever shelves or larger structures will attach.
- Frame the roof. Only attach a roof ledger to the house if you understand proper flashing; otherwise build a freestanding roof frame, then add rafters and panels.
- Build the door. Use a rigid 2×4 frame with diagonal bracing so it doesn’t sag, covered with the same hardware cloth and a latch cats cannot manipulate.
- Install the mesh. Place hardware cloth on the cat side of the framing, pulled tight, fastened every few inches with exterior screws and washers, overlapping and mechanically fastening all seams.
- Close every gap. Inspect roof edges, corners, the door perimeter, house transitions, and ground level. If a cat’s head can pass through a gap, assume the rest of the cat can follow.
- Finish the floor. Pavers, pea gravel, compacted stone, untreated mulch, or decking all work; prioritize drainage and easy cleanup.
- Add cat furniture. Shelves at multiple heights, ramps, sisal climbing posts, sturdy branches, a lookout perch, shade, and a hide box.
- Final safety inspection. Check for exposed wire ends, sharp screws, toxic plants, unstable shelves, pinch points, loose mesh, gaps, hot metal surfaces, and anything that could trap a collar or paw.
Cat Enrichment Layout
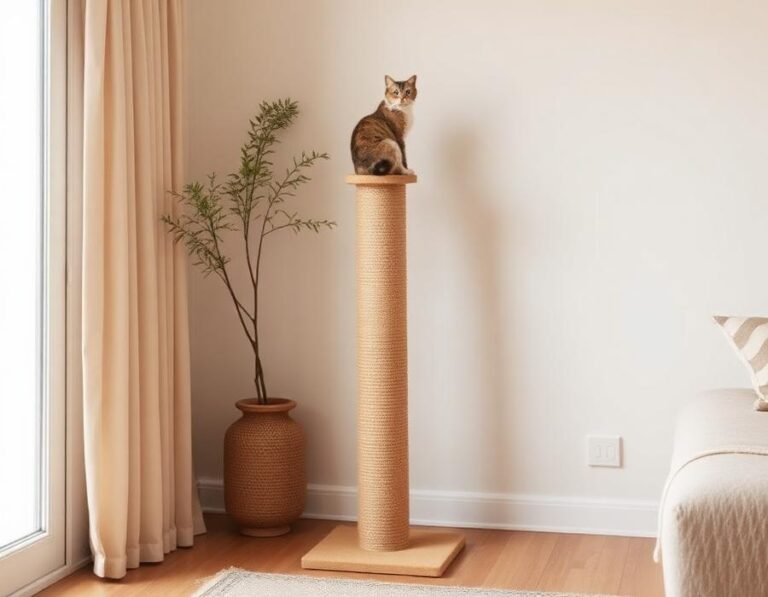
The best catio is not just a box with wire around it. Use the vertical space: a tall climbing tower near the house entrance, staggered shelves along one wall, a real or artificial branch structure toward the back, a high lookout shelf, and a low shaded resting area, with a clear human walkway through the middle.
Aim for three height zones
Try to provide at least three distinct height zones: low (under 2 ft), middle (3 to 5 ft), and high (6 to 7 ft). In a multi-cat household, provide more than one route up and down so one cat cannot easily block another.
Safety Details Worth Spending Money On
- Mesh: use welded hardware cloth rather than ordinary chicken wire, which is built to contain poultry, not to secure a pet enclosure.
- Door security: a latch plus a secondary carabiner or locking clip, and a self-closing hinge or spring if possible.
- Predator resistance: secure the bottom edge; on soil, consider an outward hardware-cloth apron or buried barrier if digging animals are a concern.
- Weather: permanent shade and at least one rain-protected area. Clear roofing in strong direct sun can make a catio much hotter than the surrounding yard.
- Plants: verify every plant before it goes inside. Avoid lilies entirely, and never assume a plant is safe just because it is a common houseplant.
Rough Budget
| Category | DIY planning range |
|---|---|
| Structural lumber | $300-$650 |
| Hardware cloth | $150-$350 |
| Roofing | $100-$300 |
| Fasteners, brackets, anchors | $100-$250 |
| Door hardware | $30-$100 |
| Floor and drainage materials | $75-$300 |
| Shelves, sisal, enrichment | $100-$350 |
| Sealant and miscellaneous | $75-$200 |
| Approximate total | $930-$2,500 |
Frequently Asked Questions
Can I build a walk-in catio without attaching it to my house?
Yes, and it is often the simpler, safer choice for a DIY build. A freestanding frame avoids the flashing and water-intrusion issues that come with attaching directly to siding or a roofline.
What size wire mesh should I use?
Half-inch, 19-gauge or heavier hardware cloth is the standard choice. Ordinary chicken wire is designed to contain poultry, not to keep predators out or a determined cat in.
How much does a DIY walk-in catio cost?
For a 6 ft by 12 ft enclosure, plan on roughly $930 to $2,500 depending on lumber prices, mesh gauge, roofing material, and how much you can reuse or reclaim.
Do I need a permit to build one?
It depends on the size and your local rules. Check permitting requirements and any HOA restrictions before starting, especially for a larger, permanent structure.
Sources and references
- Add a local building code or HOA reference here (placeholder)
Contented Kitty may earn a commission from qualifying purchases at no additional cost to you. Contented Kitty provides general educational information only. It does not diagnose conditions and is not a substitute for care from a licensed veterinarian. Always speak to your own vet about your cat.